OVERVIEW
- This guide helps first-time job seekers in the Philippines understand and secure their NBI Clearance, the document most employers require before starting work.
- The guide walks you step-by-step through the process, from required documents to online registration, appointment booking, and what to expect at the NBI center.
- The guide includes a clear online registration walkthrough, appointment and payment instructions, and collection options.
- You’ll find practical tips on common pitfalls to avoid, ways to speed up the process, and advice for resolving name or ID mismatches.
INTRODUCTION

Imagine this: It’s your first day for your first job. Birth certificate, check. School records, check. Medical results, check. NBI? Okay, what’s that?
That’s the moment you realize you’re missing one crucial document, your NBI Clearance. And yes, almost every employer in the Philippines requires it before you start working.
While it may seem like another piece of paperwork, securing your NBI Clearance is easy and straightforward once you know the steps. In this guide, we will walk you through everything you need to know, from requirements to useful tips, for first-time applicants.
WHAT’S AN NBI CLEARANCE?
An NBI (National Bureau of Investigation) Clearance is a critical document in the Philippines, serving as a certificate of no criminal record. It’s required for job applications, visa processing, license applications, and other official transactions.
WHAT ARE THE REQUIREMENTS?
Before applying, you must prepare the following:
✔️ At least one valid government-issued ID
✔️ Active email address
✔️ Active mobile number
THE STEP-BY-STEP APPLICATION PROCESS
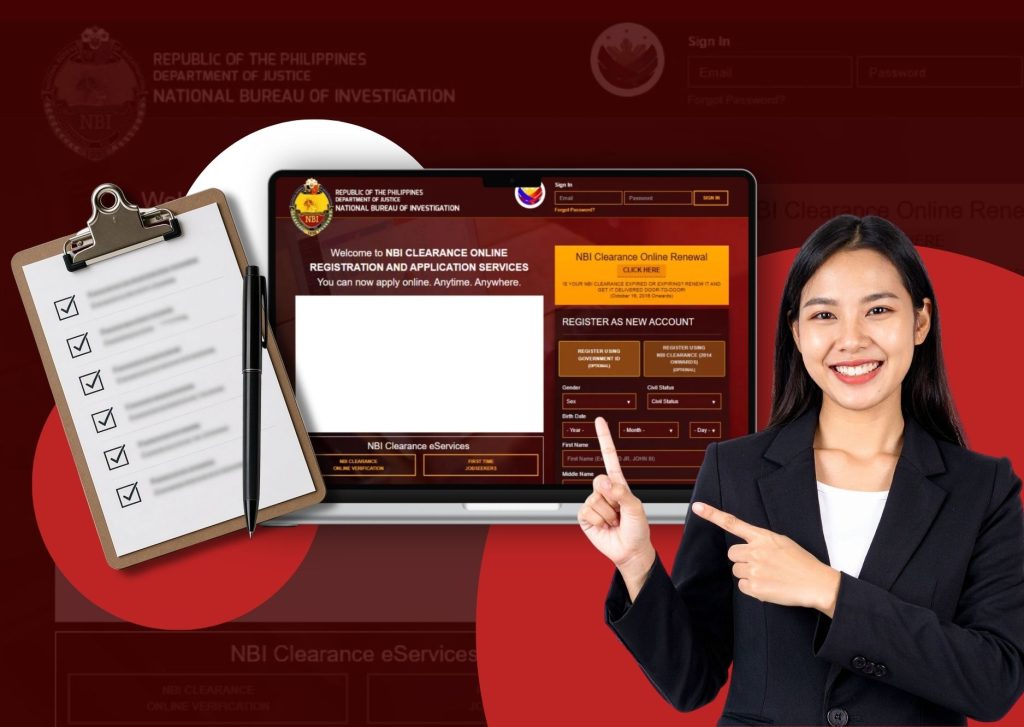
STEP 1. Register Online
Go to the NBI Clearance Online Portal and create an account. If you already have an account, just log in.
STEP 2. Complete Your Information
Fill out the online application form with your personal details. Make sure all information matches the details on your valid ID.
STEP 3. Schedule Your Appointment
Choose your preferred NBI branch, appointed date, and time slot.
STEP 4. Pay The Fee
Pay the NBI Clearance fee through your preferred payment channel such as Gcash, Maya, online banking, or authorized payment centers.
STEP 5. Visit The NBI Branch
On your appointment date, bring your valid ID and reference number. Your photo and fingerprints will be taken at the branch.
STEP 6. Claim Your NBI Clearance
If your record has no “HIT” or name match requiring verification, you may receive your clearance on the same day. If there is a “HIT”, additional verification may be needed.
Note: If you have a NBI HIT, don’t panic. A “HIT” is a common routine occurrence that usually means your name matches someone else in the NBI database who has a criminal record.
Here are some more helpful tips:
• Double-check your information before submitting your application.
• Arrive at the branch at least 15 minutes before your appointment.
• Keep a copy of your payment receipt or reference number.
• Bring your valid ID on the day of your appointment and make sure to check the list of valid IDs.

RECAP
This guide removes the guesswork and stress from getting your NBI Clearance so you can focus on the more exciting parts of starting a new job. With a clear checklist, step-by-step instructions for online registration and the NBI center visit, and practical tips to avoid common delays, first-time applicants can complete the process quickly and confidently.
Remember to prepare your documents, double-check your personal details, and book an appointment ahead of time. These small steps save time and prevent last-minute issues. By following this guide, you’ll have your NBI Clearance in hand and be ready to begin your first day without unnecessary paperwork holding you back.
Looking for more career guides like this? Visit Asia PeopleWorks’ Article Page for more expert advice and career tips designed to support job seekers at every stage of their journey.